Thursday 12 November 2015

Progress update - better late than never!

Well, I've been busy building but not updating my build blog it seems...!  Progress has been a bit slower than I hoped as the room I was using for my build is currently out of action as we are having an extension built!

Anyway... I'll start just by posting a load of photos from the last few months of my build.

As you'll see the 232 is installed and working, I changed the dome position holder and the dome drive mechanism and have updated the electronics to include a wifi receiver which works with an iPhone app - more on that in a later post.  Most of the Dome is complete (apart from the lifters) and the body is getting there.

I'll post separate updates for specific parts later... enjoy....!


Tuesday 5 May 2015

Dome Pot, Painting, Ankle Locks, Radar Eye and other bits...

A quick update on a few odds and ends that I have been working on before I start on getting R2 standing.  Before I get started I went to the UK R2 Builders Day kindly organised by Brad (BigHappyDude) - it was a great day with so many droids to get ideas from. Was interesting seeing the MOT's being done as well, can't wait to get my droid rolling and get involved.


I have started painting a few leg parts.  The booster covers are tricky as they need a bit of masking - I used a mixture of green frog tape masking tape and blutac to cover the areas that need to stay metal.  I found that the best result was doing all the painting, removing the tape after a couple of hours so paint was not completely hard.  I then applied the lacquer afterwards to seal the edges.  I am happy with the result but it could have been slightly neater I think - good job he'll be weathered.

I tend to do a coat of acid etch primer, two coats of normal primer, then three coats of finished colour.  I sand between each layer of primer as well.


You can see the blutac in the half moons. (I am not sure those indents should remain metallic but I think it will look good)


I also decided now was time to spray the area around the rear PSI - its the only part of the inner dome that is painted.  So, I masked it off and applied coats as above.


I also started to paint some of the body parts any my new aluminium radar eye - it was such a shame to spray such a nice metal piece but it had to be done.  However I didn't realise until after I painted the eye that the indented parts not he right side are supposed to be left metallic - I may try to get the paint off later...

After 1 coat of blue - I find lots of thin coats much better to prevent runs etc.


Another quick job was to fix the top pie panel.  I found that the hinge did not fit well to the outer panel and seemed too far down, adding the inner dome panel that I cut out between the hinge and outer dome panel seemed perfect. (All the other hinged panels just use the outer panel directly stuck to the hinge).  I now just need to find a dome topper - will search through my odds and sods box of washers sometime - there must be one in there somewhere!


My next job was to get a radar eye in place - I have a glass eye lens on order but I know it'll be a few months so decided to create a cheap alternative as a temporary solution.  I purchased a fake CCTV camera from eBay (http://www.ebay.co.uk/itm/321632062417?_trksid=p2057872.m2749.l2649&ssPageName=STRK%3AMEBIDX%3AIT), cut off the top section of the dome and painted the inside black.  I am very pleased with the result and at last R2 can see what he is doing!!


Next up was starting on the feet.  A bit of painting to get the first layers on, however I am not happy with the finish so will be sanding them down and redoing once its all fitted together.

I also cut the hole for the ankle lock rod to through.  This took a fair amount of time to get it the right position - its a touch too long but very hard to see once the ankle is in place.   One of my next posts will go into how I mount the foot drives etc.


I am now realising how much I have done since my last post - in future I'll try to post more often with smaller updates!!

I started to try and get some wiring done - got the foot drive controllers wired in, and started on the actuator controllers...  there is so much wiring to do, so I'll post again once some more is done - for now here is a messy pic of my electronics board.... (I have also decided to make a custom PCB for the arduino mega's as there is so much connecting to them now - i'll post further details once I have a more final solution!)


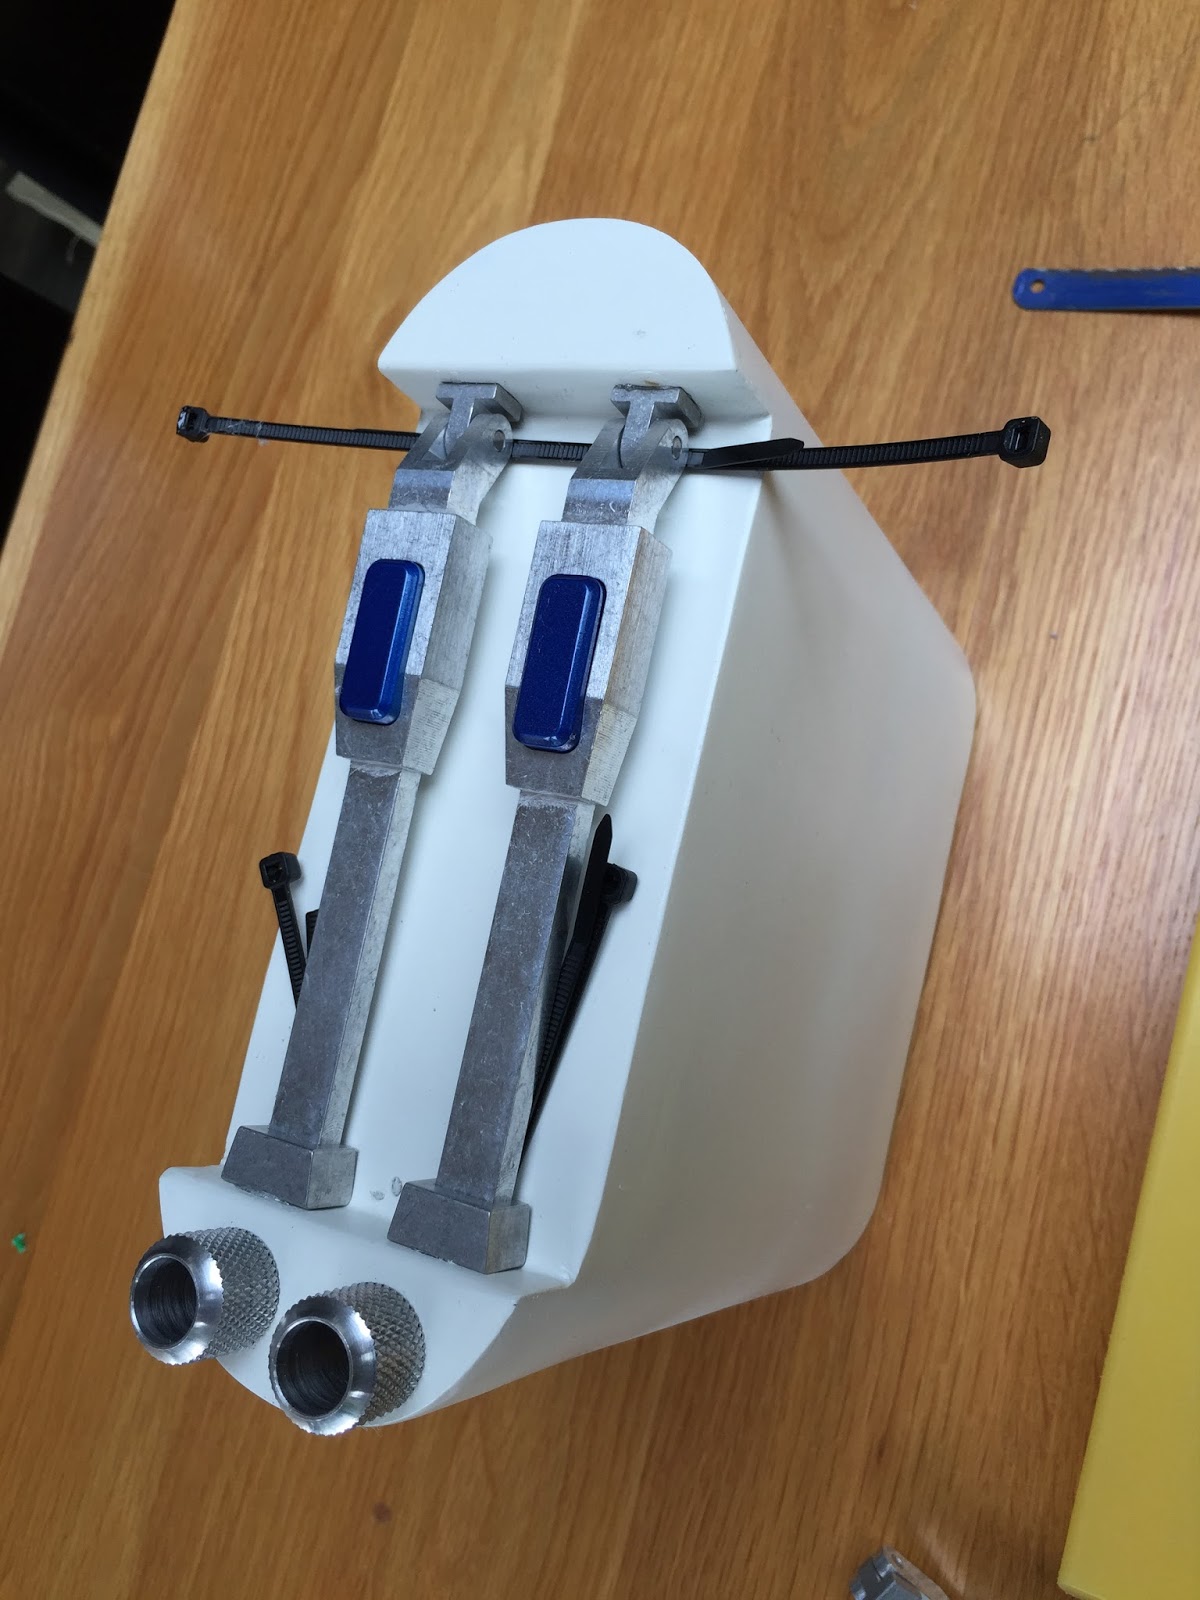
Last section for this post is regarding the dome potentiometer to measure which way the dome is facing.  I want to be able to implement code that can tell which way the dome is facing and centre it when needed.  I haven't really started the code yet, but needed to mount the potentiometer. 

I decided to make use of my 3d printer for this, I needed a bottom part to protect the potentiometer itself and then something to apply pressure to a part of it as the dome turns. 

In my build I intend to keep the dome plate attached to the dome when its removed, so I didn't want to put the reader on the dome plate.  I realised my dome connector already extends halfway to the centre (to carry the slipping wires) so thought I could double up the usage of this.  My first attempt below was a bit big and also instead of pressing on the pot with enough pressure it just lifted the reader.  


 My second attempt is more lightweight and includes a grove in the base part that the top part latches into - this prevents it lifting when pressure is applied to the pot.  Works perfectly so am happy with this.

I did manage to burn out two softpots before realising resistors are needed - so make sure you put a 1k resistor between the 5v and signal wires when connecting to your arduino.   I'll post details of how it connects up when I post about the code.


In this next pic you can see the grove the top part locks into.


That's all for now I think.

I now have most my parts to get him standing including legs, ankles, feet and battery boxes (thanks Jens (prostreetnotch)!.  I also have my 2-3-2 kit from James (commando8), have decided to put it all together before doing anymore painting (i'll then dismantle it all to paint and reassemble... can't wait to get R2 on his feet rolling around...!

Friday 20 March 2015

Dome Work

Not had a great deal of time to work on R2, but have made some progress, its been a while since an update so this post maybe a bit jumbled - sorry about that!

As far as parts are concerned, I nearly have everything now for the basic build with the exception of ankles.  Am hopeful to get them in the next month or so as I have a couple of option that may turn out good - fingers crossed.

I have managed to now get most of the dome parts done.


PSI's

I got the PSI holders from ai-parts.com and the PSI boards from Selgus on astromech.net.  Both parts are so well manufactured.  I had to do some work to get the inner and outer dome holes for the front PSI to line up, but nothing 10 minutes with a file didn't sort out.  I think the front PSI holder is supposed to sit inside the inner dome, however I found it better to sit behind it - it may make the lights further back but its ok.


The diffusing is not great - probably because the LED's are so bright - so I will think again about this at some point and add some diffusion layers to make it a bit more subtle.

Fitting the holders was just a case of two captive studs for each as I used for the hinges.

The inner dome still needs painting blue around the rear PSI but I'll so that later as it all needs masking off.

Currently I just have a 12v power supply going to each PSI, I will in the future add this to the I2C bus and hopefully Selgus will release some code to accept I2C commands.

HP's


The HP's are still ongoing.  I have them mounted in ok and the mounts from BobC are ok.  I have found that because my inner and outer dome don't line up very well the HP's tend to bind a bit.  I have filed the inner dome a bit and its better.  I think however I need to remove them and put some felt on the inside to help them move more easily.


The BobC servo mounts have been a bit of a pain - they tend to jam up a bit - they sort of work, but I am going to go back to the drawing board on this and print a different mount on my 3d printer - i'll post separately about this if it works!!


Again I just have power going to the REON boards in each HP, I will add I2C to this so I can change colour at will.

Logics

The logics from Joymonkey (on astromech.net) are simply great!  Nothing really to add, I followed his great instructions and mounted them with captive studs.


I thought there was going to be an issue with the two front boards hitting each other as the dome curves inward.  However when bolting them in I lined them up with the bolts loose then gradually tightened each one - this resulted in the boards pushing away from each other which is fine.


Again, currently I just have power going to each logic, I will add I2C when Joymonkey releases new code that supports it - am really hoping it will support scrolling text like the teeces.

Dome Panels

I have painted all the dome panels.  I used an etch primer from Halfords, followed by two coats of primer, followed by 3 coats of Citroen Posiedon Blue paint and then 2 coats of lacquer. (All from halfords.)


I glued each panel on each hinge with E6000, and clamped each one - I managed to do this too soon after lacquer and its marked it with the clamps so i'll need to mask them off and respray at some point - though I am thinking of weathering him so it may not matter!


The hinges were not the correct curvature in many places but some gentle bending made them ok.

Clearance of the panels over the dome was a bit of a problem - moving the hinges further out combined with filing the inner edge of the panel solved this.

Overall fitting the panels was an bitch of a job and I redone a few of them as they weren't correctly positioned - the beauty of E6000 is that it will peel off if needed.

All the panels are controlled by an arduino in the dome that accepts I2C commands from the master arduino in the body.  I will release all my code once I am happy with it and it works properly (which isn't yet as it crashes a lot with buffer overruns etc)

Radar Eye

I thought i'd be waiting forever for a radar eye, so I printed one on my 3d printer, it came out quite well but ironically just as it was finishing its 4 hour print I nabbed a aluminium version on the junkyard!  I don't know how I am going to bring myself to paint it - its so beautiful!  Just need a lens now, which is incoming hopefully.


I still need to sort the top panel out and rework the HP's, but other then that the dome is nearly there. (oh, I do need to tidy the wiring - I have done half but need to bring myself to do the rest!)
I also have a periscope on the way and already have the LFS, so as soon as the lifters are ready i'll be working on them too!

Tidy wires...

not so tidy wires!